
How to Install Ghost on Docker (Step-by-Step Guide)
Follow our comprehensive step-by-step guide to install Ghost on Docker - perfect for quickly setting up your blogging platform.

Introduction
What is Ghost?
Ghost is a popular open-source blogging platform that offers a comprehensive set of features for bloggers. It supports powerful functionalities like editing, publishing, managing email newsletters, and handling paid subscriptions.

In this tutorial, I will guide you through installing Ghost on Docker.
1. Prerequisites
Make sure you have installed Debian Stable (either oldstable or stable releases, sid is not supported) or Ubuntu LTS (Interim releases not supported).
For the installation process, I will switch to the root user by sudo -i or su root.
First, install Docker and Docker Compose by following the instructions in this article.
You may need a Mailgun account to send emails and newsletters. You can sign up here.
2. Create a Docker Compose File
Let's create a file named compose.yaml at the path /opt/compose.yaml
cd /opt

echo 'name: ghost

services:
  ghost:
    image: ghost:6-alpine
    container_name: ghost
    restart: always
    ports:
      - 127.0.0.1:2368:2368
    environment:
      TZ: "UTC"
      database__client: mysql
      database__connection__host: ghost_database
      database__connection__user: ghost_user
      database__connection__password: YourRandomMySQLPassword
      database__connection__database: ghost_database
      mail__transport: smtp
      mail__from: "Your Name <noreply@example.com>"
      mail__options__service: Mailgun
      mail__options__host: smtp.mailgun.org
      mail__options__port: 465
      mail__options__auth__user: YourMailgunEmailUsername
      mail__options__auth__pass: YourMailgunEmailPassword
      mail__options__secure: true
      url: https://example.com/
    volumes:
      - ./data/ghost:/var/lib/ghost/content
    networks:
      - ghost-network

  ghost_database:
    image: mysql:8
    container_name: ghost_database
    restart: always
    environment:
      MYSQL_ROOT_PASSWORD: YourRandomMySQLRootPassword
      MYSQL_DATABASE: ghost_database
      MYSQL_USER: ghost_user
      MYSQL_PASSWORD: YourRandomMySQLPassword
    volumes:
      - ./data/mysql:/var/lib/mysql
    networks:
      - ghost-network

  watchtower:
    image: nickfedor/watchtower:latest
    container_name: watchtower
    restart: always
    volumes:
      - /var/run/docker.sock:/var/run/docker.sock
    environment:
      - WATCHTOWER_CLEANUP=true
      - WATCHTOWER_POLL_INTERVAL=86400
    networks:
      - ghost-network

networks:
  ghost-network:
    name: ghost-network
' > ./compose.yaml
Create /opt/compose.yaml
Then, pull the images and start the containers:
docker compose pull
docker compose up -d
Docker Compose Pull and Start
You can use docker ps to verify if all containers are running:
# docker ps
CONTAINER ID   IMAGE                          COMMAND                  CREATED         STATUS                            PORTS                      NAMES
bd0cb912685f   ghost:5-alpine                 "docker-entrypoint.s…"   3 seconds ago   Up Less than a second             127.0.0.1:2368->2368/tcp   ghost
eb058d47d520   mysql:lts                      "docker-entrypoint.s…"   3 seconds ago   Up 2 seconds                      3306/tcp, 33060/tcp        ghost_database
b96d0acfb0f9   containrrr/watchtower:latest   "/watchtower"            3 seconds ago   Up 2 seconds (health: starting)   8080/tcp                   watchtower
Sample Output
You can also use docker logs ghost to verify if Ghost is running:
# docker logs ghost
...........
[2025-05-05 19:06:38] INFO Database is in a ready state.
[2025-05-05 19:06:38] INFO Ghost database ready in 5.036s
[2025-05-05 19:06:39] INFO Invalidating assets for regeneration
[2025-05-05 19:06:39] INFO Adding offloaded job to the inline job queue
[2025-05-05 19:06:39] INFO Scheduling job mentions-email-report at 13 33 * * * *. Next run on: Mon May 05 2025 19:33:13 GMT+0000 (Coordinated Universal Time)
[2025-05-05 19:06:39] INFO Adding one-off job to inlineQueue with current length = 0 called 'members-migrations'
[2025-05-05 19:06:39] INFO Stripe not configured - skipping migrations
[2025-05-05 19:06:40] INFO URL Service ready in 1156ms
[2025-05-05 19:06:40] INFO Adding offloaded job to the inline job queue
[2025-05-05 19:06:40] INFO Scheduling job clean-expired-comped at 59 13 3 * * *. Next run on: Tue May 06 2025 03:13:59 GMT+0000 (Coordinated Universal Time)
[2025-05-05 19:06:40] INFO Adding offloaded job to the inline job queue
[2025-05-05 19:06:40] INFO Scheduling job clean-tokens at 35 51 0 * * *. Next run on: Tue May 06 2025 00:51:35 GMT+0000 (Coordinated Universal Time)
[2025-05-05 19:06:40] INFO Ghost booted in 6.953s
[2025-05-05 19:06:40] INFO Adding offloaded job to the inline job queue
[2025-05-05 19:06:40] INFO Scheduling job update-check at 12 0 17 * * *. Next run on: Tue May 06 2025 17:00:12 GMT+0000 (Coordinated Universal Time)
[2025-05-05 19:06:40] INFO Running milestone emails job on Tue May 06 2025 19:06:40 GMT+0000 (Coordinated Universal Time)
Sample Output
Now that Ghost is running and listening on 127.0.0.1:2368, we can configure an Nginx reverse proxy to make it accessible publicly.
3. Setting up an Nginx Reverse Proxy
First, install Nginx by following the instructions from N.WTF.
apt install nginx-extras -yThen, create a configuration file at /etc/nginx/sites-available/example.com:
sudo bash -c 'cat > /etc/nginx/sites-available/example.com << "EOF"
upstream ghost {
  server 127.0.0.1:2368;
}

server {
  listen 443 ssl;
  listen [::]:443 ssl;
  listen 443 quic;
  listen [::]:443 quic;

  server_name example.com;

  access_log /var/log/nginx/example.com.access.log;
  error_log /var/log/nginx/example.com.error.log;

  add_header Alt-Svc '"'"'h3=":443"; ma=86400'"'"';
  add_header Strict-Transport-Security "max-age=63072000; includeSubDomains; preload";
  add_header X-Frame-Options SAMEORIGIN;
  add_header X-Content-Type-Options nosniff;
  add_header Referrer-Policy "strict-origin-when-cross-origin";

  location / {
    proxy_set_header X-Real-IP $remote_addr;
    proxy_set_header X-Forwarded-For $proxy_add_x_forwarded_for;
    proxy_set_header Host $host;
    proxy_set_header X-NginX-Proxy true;
    proxy_http_version 1.1;
    proxy_set_header Upgrade $http_upgrade;
    proxy_set_header Connection "";
    proxy_redirect off;
    proxy_set_header        X-Forwarded-Proto $scheme;
    proxy_connect_timeout       300;
    proxy_send_timeout          300;
    proxy_read_timeout          300;
    send_timeout                300;
    proxy_pass http://ghost;
    proxy_hide_header X-powered-by;
  }

  ssl_protocols TLSv1.3;
  ssl_ecdh_curve X25519:prime256v1:secp384r1;
  ssl_prefer_server_ciphers off;

  ssl_certificate /etc/nginx/ssl/example.com.crt;
  ssl_certificate_key /etc/nginx/ssl/example.com.key;
}
EOF'

ln -s /etc/nginx/sites-available/example.com /etc/nginx/sites-enabled/example.comexample.com and the SSL certificates with your own domain and certificate files.Now, test the Nginx configuration and reload the service:
nginx -t
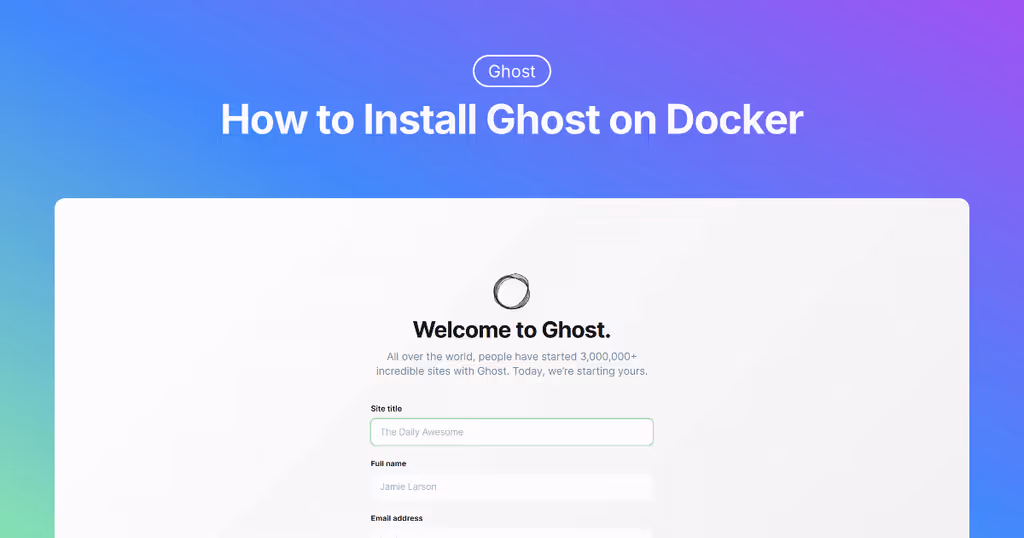
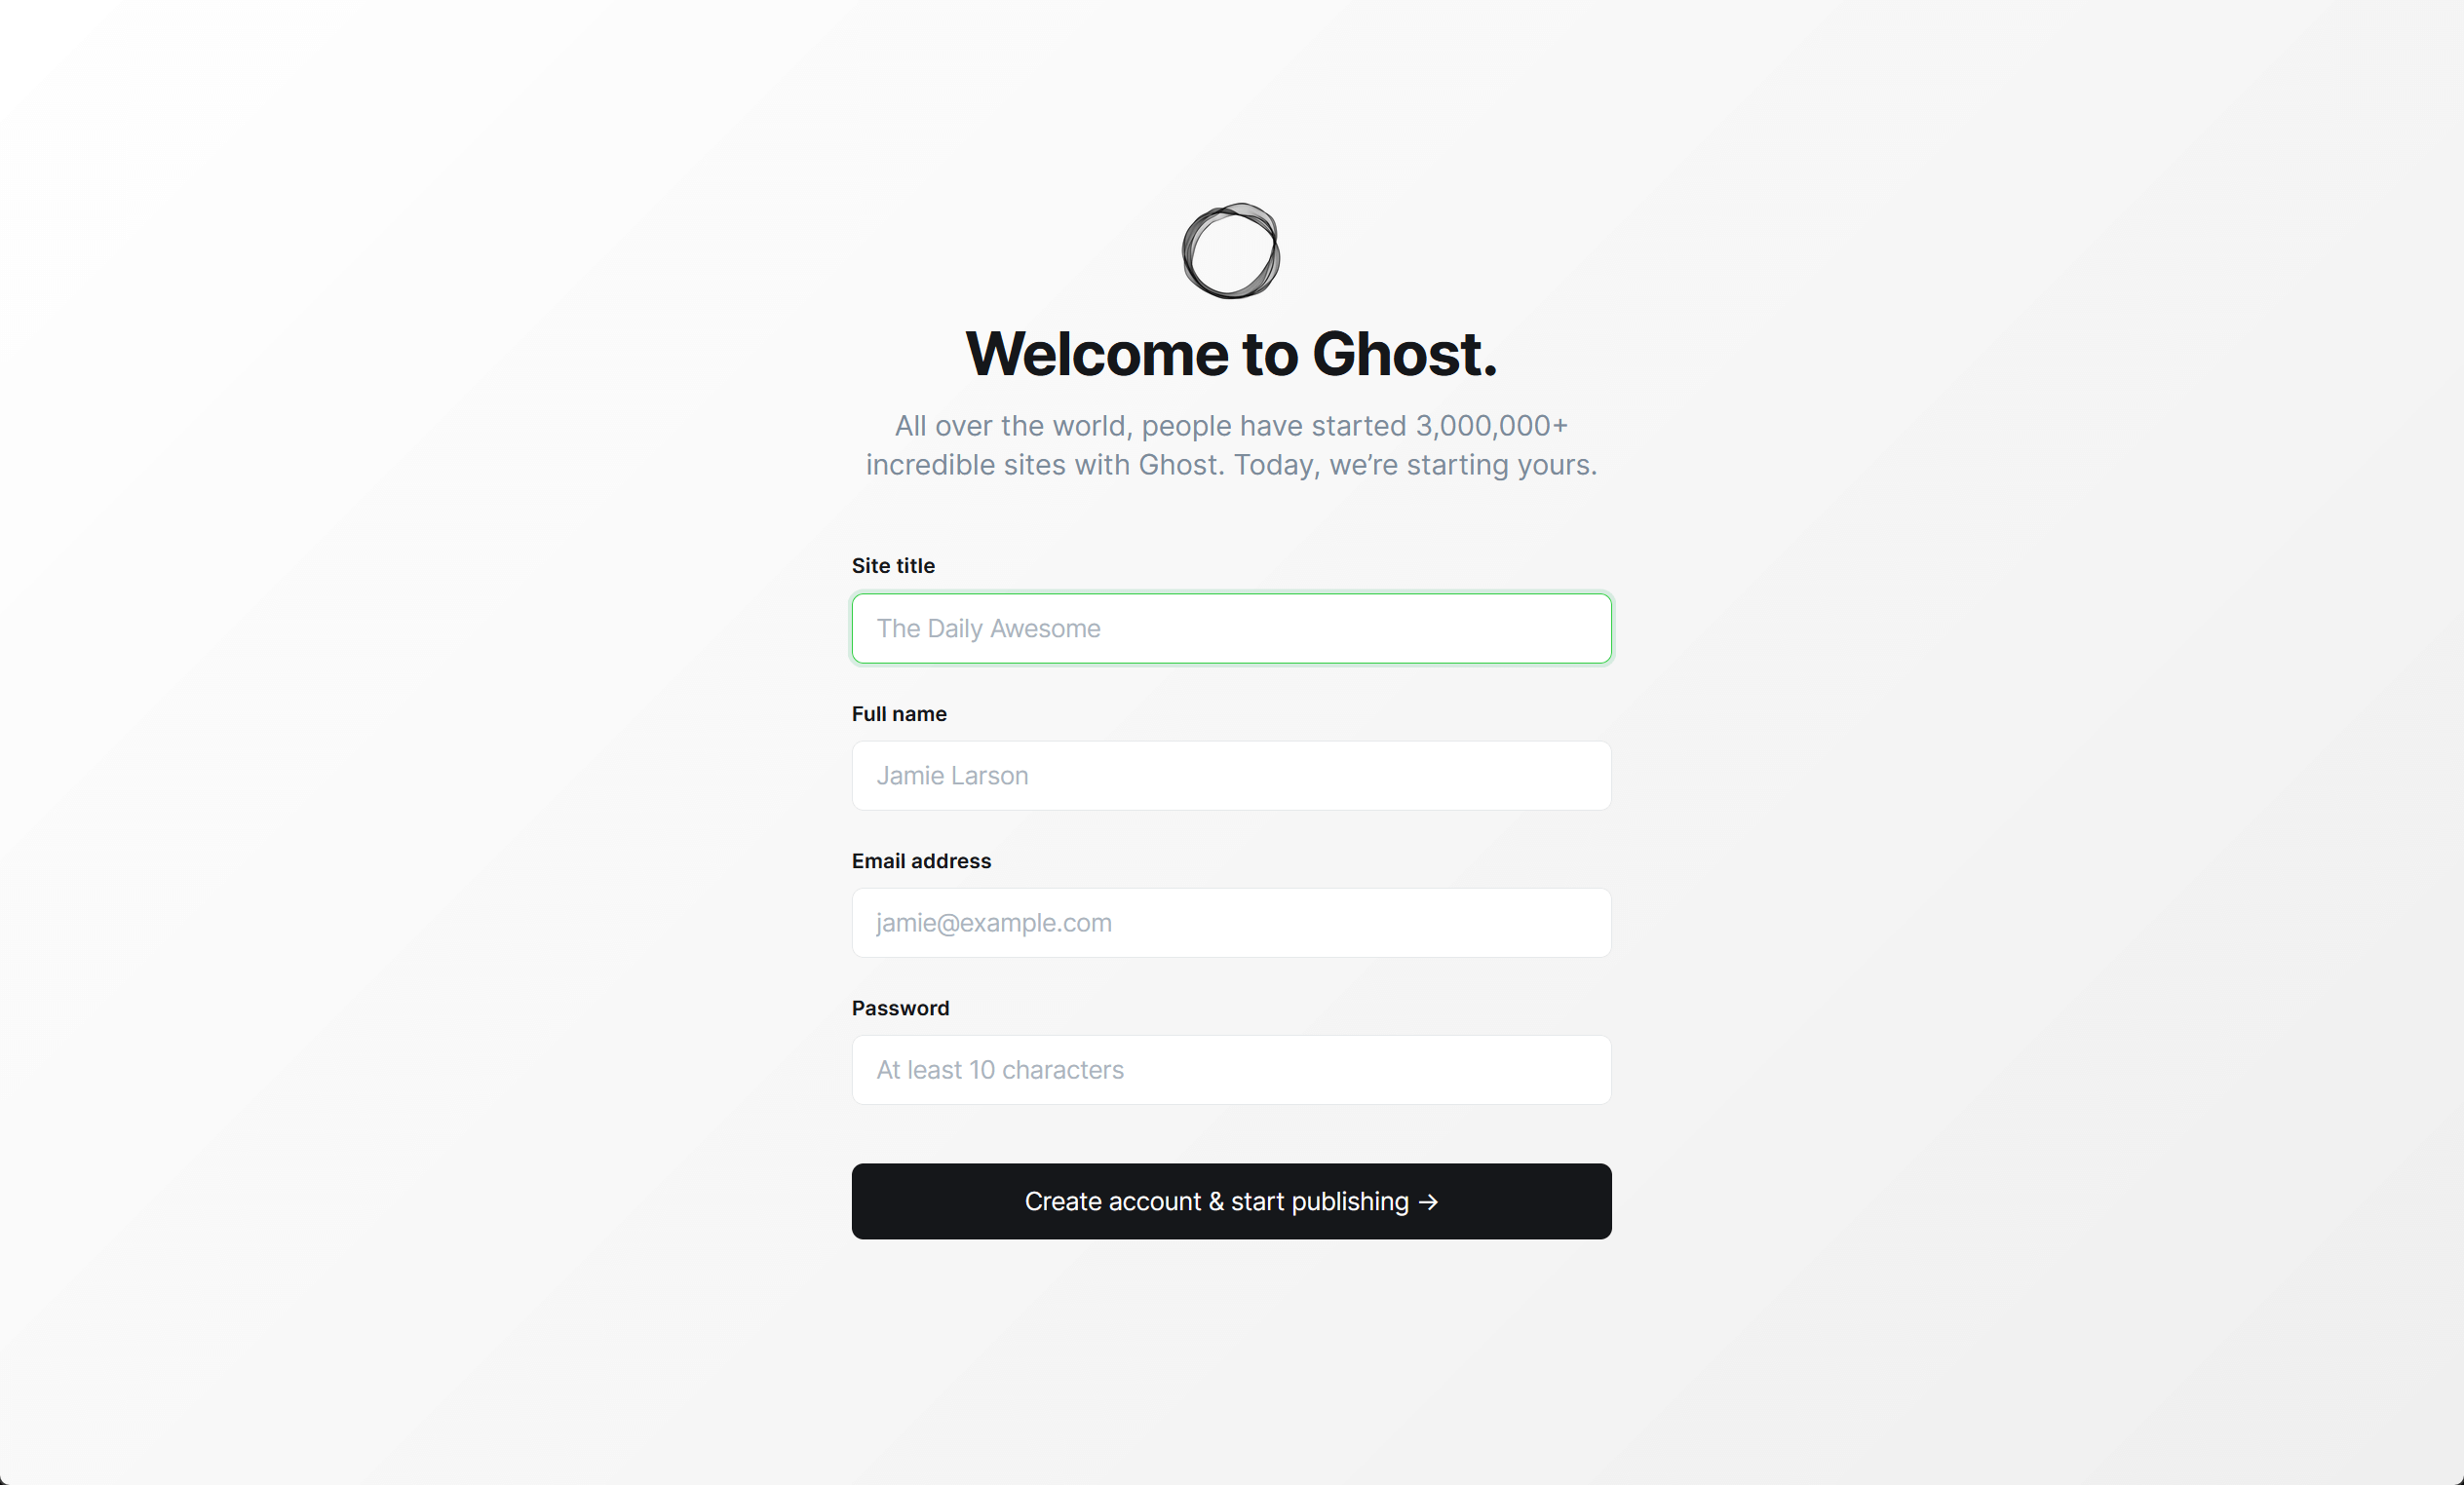
nginx -s reloadYou can visit https://example.com/ghost/ in your browser to start blogging with Ghost!
4. Setting up Caddy as a Reverse Proxy
When you need to develop quickly without spending time managing SSL certificates, Caddy is the choice instead of Nginx.
Caddy is an extensible, cross-platform, open-source web server written in Go that automatically deploys SSL certificates.

Simply add the following lines to your Docker Compose YAML file:
  caddy:
    image: caddy:alpine
    container_name: caddy
    restart: always
    ports:
      - "80:80/tcp"
      - "443:443/tcp"
      - '443:443/udp'
    volumes:
      - ./caddy/etc/caddy:/etc/caddy
      - ./caddy/data:/data
      - ./caddy/config:/config
      - ./caddy/srv:/srv
    networks:
      - ghost-network
Or use the full version:
cd /opt

echo 'name: ghost

services:
  ghost:
    image: ghost:6-alpine
    container_name: ghost
    restart: always
    ports:
      - 127.0.0.1:2368:2368
    environment:
      TZ: "UTC"
      database__client: mysql
      database__connection__host: ghost_database
      database__connection__user: ghost_user
      database__connection__password: YourRandomMySQLPassword
      database__connection__database: ghost_database
      mail__transport: smtp
      mail__from: "Your Name <noreply@example.com>"
      mail__options__service: Mailgun
      mail__options__host: smtp.mailgun.org
      mail__options__port: 465
      mail__options__auth__user: YourMailgunEmailUsername
      mail__options__auth__pass: YourMailgunEmailPassword
      mail__options__secure: true
      url: https://example.com/
    volumes:
      - ./data/ghost:/var/lib/ghost/content
    networks:
      - ghost-network

  ghost_database:
    image: mysql:8
    container_name: ghost_database
    restart: always
    environment:
      MYSQL_ROOT_PASSWORD: YourRandomMySQLRootPassword
      MYSQL_DATABASE: ghost_database
      MYSQL_USER: ghost_user
      MYSQL_PASSWORD: YourRandomMySQLPassword
    volumes:
      - ./data/mysql:/var/lib/mysql
    networks:
      - ghost-network

  caddy:
    image: caddy:alpine
    container_name: caddy
    restart: always
    ports:
      - "80:80/tcp"
      - "443:443/tcp"
      - '443:443/udp'
    volumes:
      - ./caddy/etc/caddy:/etc/caddy
      - ./caddy/data:/data
      - ./caddy/config:/config
      - ./caddy/srv:/srv
    networks:
      - ghost-network

  watchtower:
    image: nickfedor/watchtower:latest
    container_name: watchtower
    restart: always
    volumes:
      - /var/run/docker.sock:/var/run/docker.sock
    environment:
      - WATCHTOWER_CLEANUP=true
      - WATCHTOWER_POLL_INTERVAL=86400
    networks:
      - ghost-network

networks:
  ghost-network:
    name: ghost-network
' > ./compose.yaml
Next, create a Caddyfile:
mkdir -p ./caddy/etc/caddy

sudo bash -c 'cat > ./caddy/etc/caddy/Caddyfile << "EOF"
example.com {
    header {
        -Server
        Strict-Transport-Security "max-age=31536000; includeSubDomains; preload"
        X-Content-Type-Options "nosniff"
        X-Frame-Options "SAMEORIGIN"
        Referrer-Policy "strict-origin-when-cross-origin"
    }

    reverse_proxy http://ghost:2368 {
        header_up Host {host}
    }

    encode zstd gzip
}
EOF'
Finally, pull all the images and start the containers:
docker compose pull
docker compose up -d
Wait a few minutes, then visit https://example.com/ in your browser.
example.com with your own domain name in the Caddyfile. Also update your DNS A/AAAA record to point to this domain.